
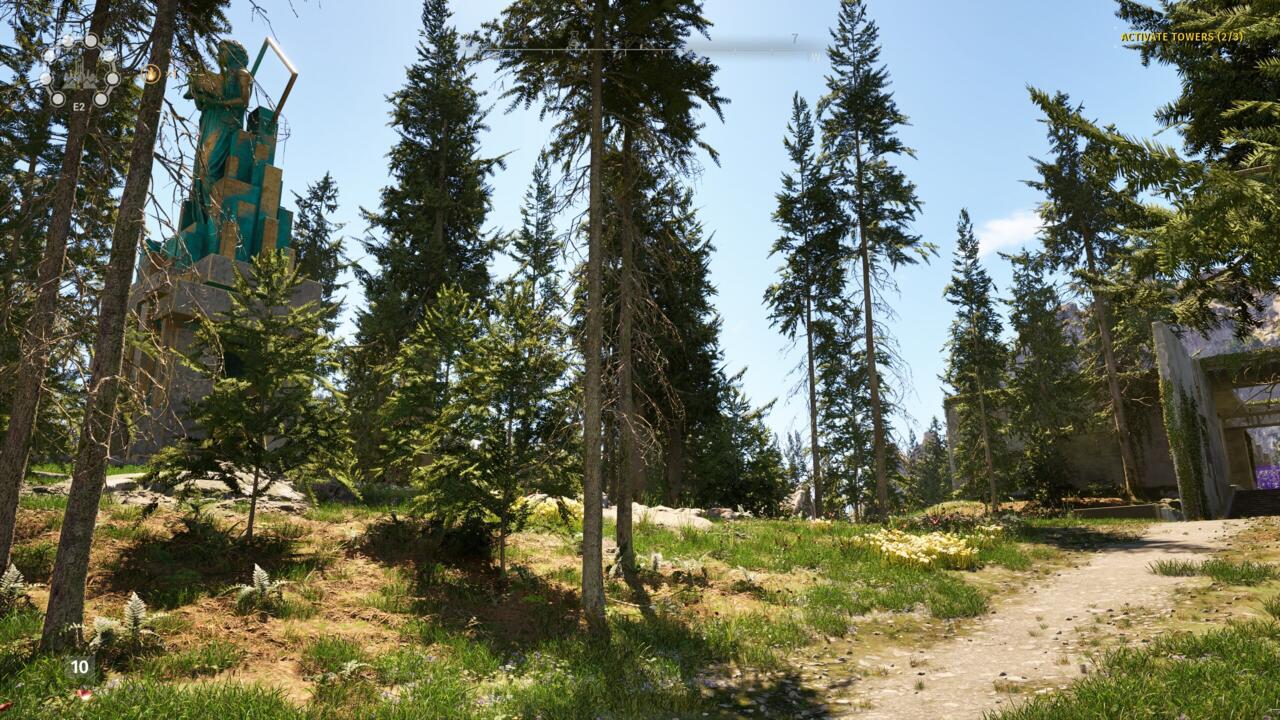
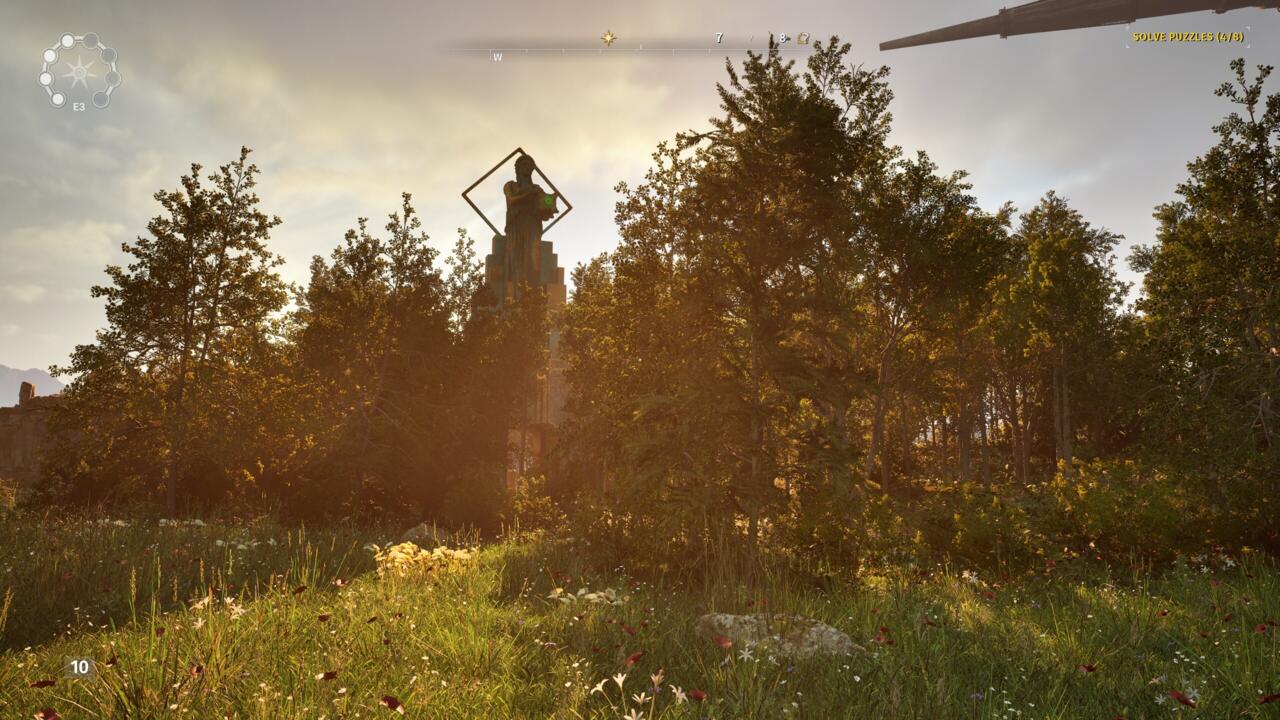
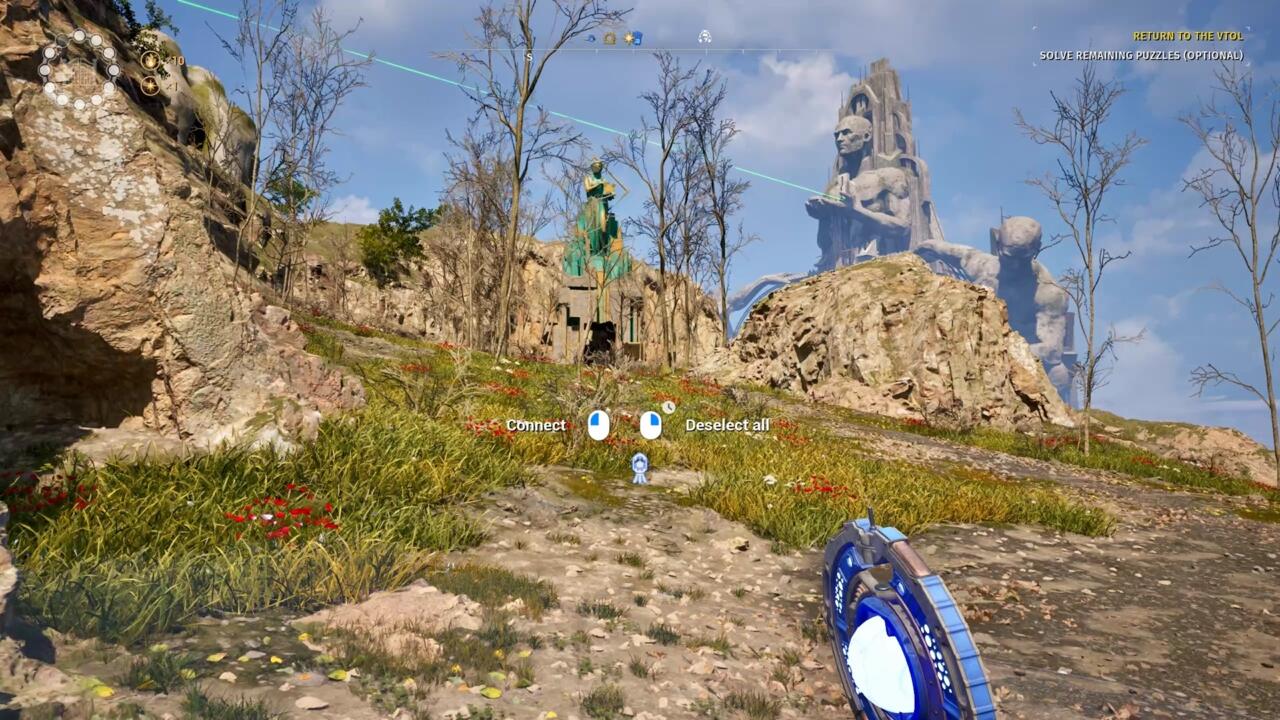
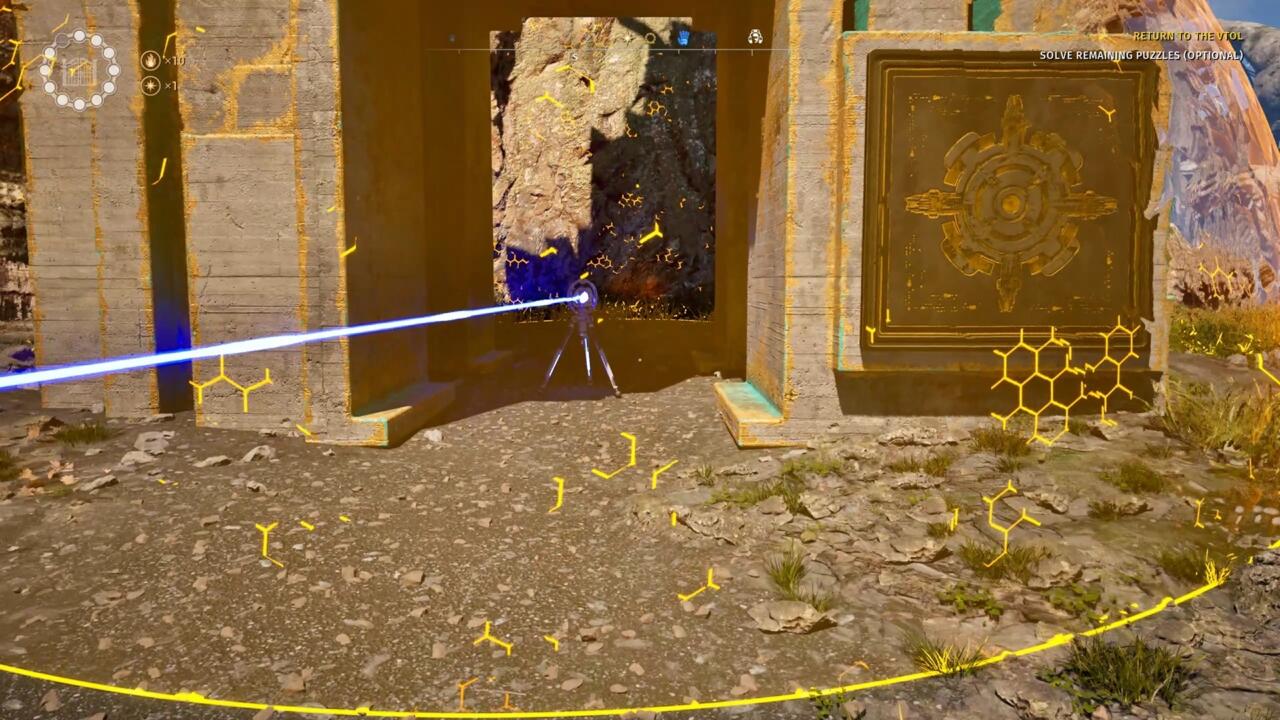
There are a whole lot of puzzles in The Talos Principle 2, and some of them aren’t obvious. Hidden in each of the game’s 12 main areas are two statues that carry puzzles of their own, each depicting either Pandora, Prometheus, or the Sphinx. Solving these side puzzles unlock additional secrets in the game, but they can be tough to master–some are among the most difficult The Talos Principle 2 has to offer.
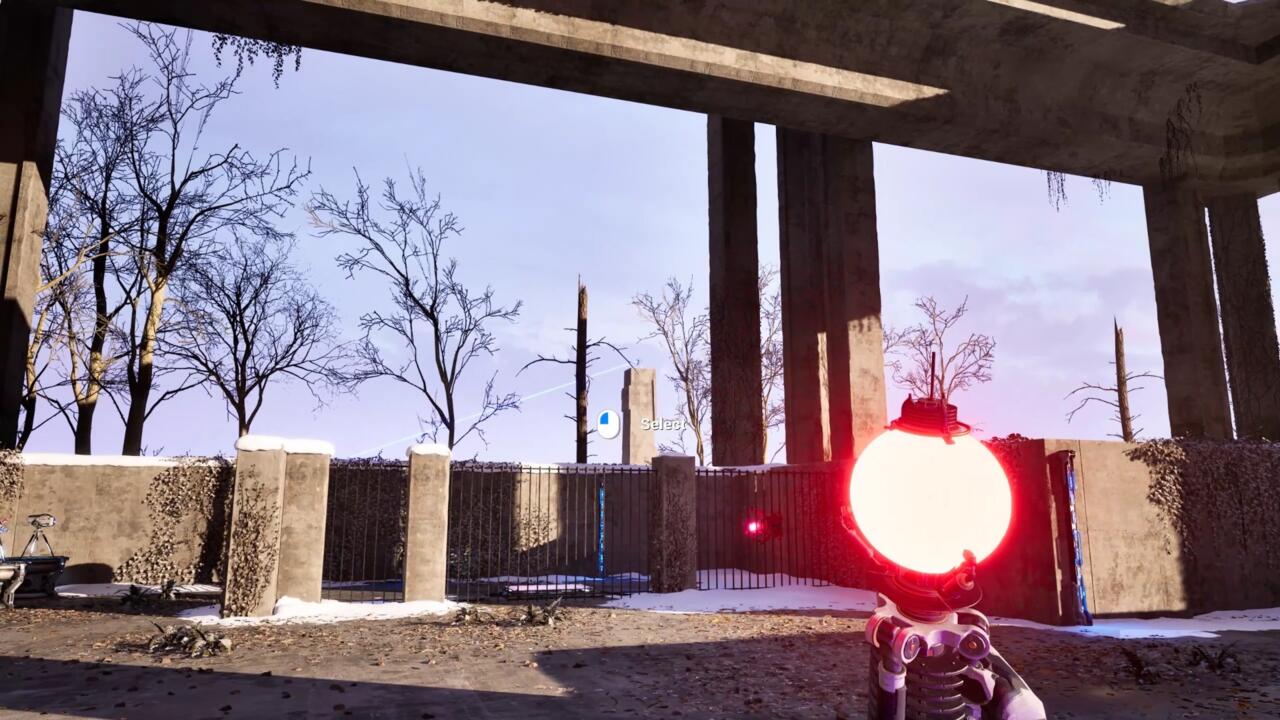
Of all the secret puzzles, the Pandora statues tend to be the most vexing. They require you to connect a laser beam to the statue to solve them, and usually need you to think outside the normal puzzle rooms. All the solutions will require you to use tools from multiple rooms together with things hidden in the environment to solve them.
Here’s a complete guide to solving every one of the Pandora statues to help you claim the stars and unlock some of The Talos Principle 2’s biggest mysteries.
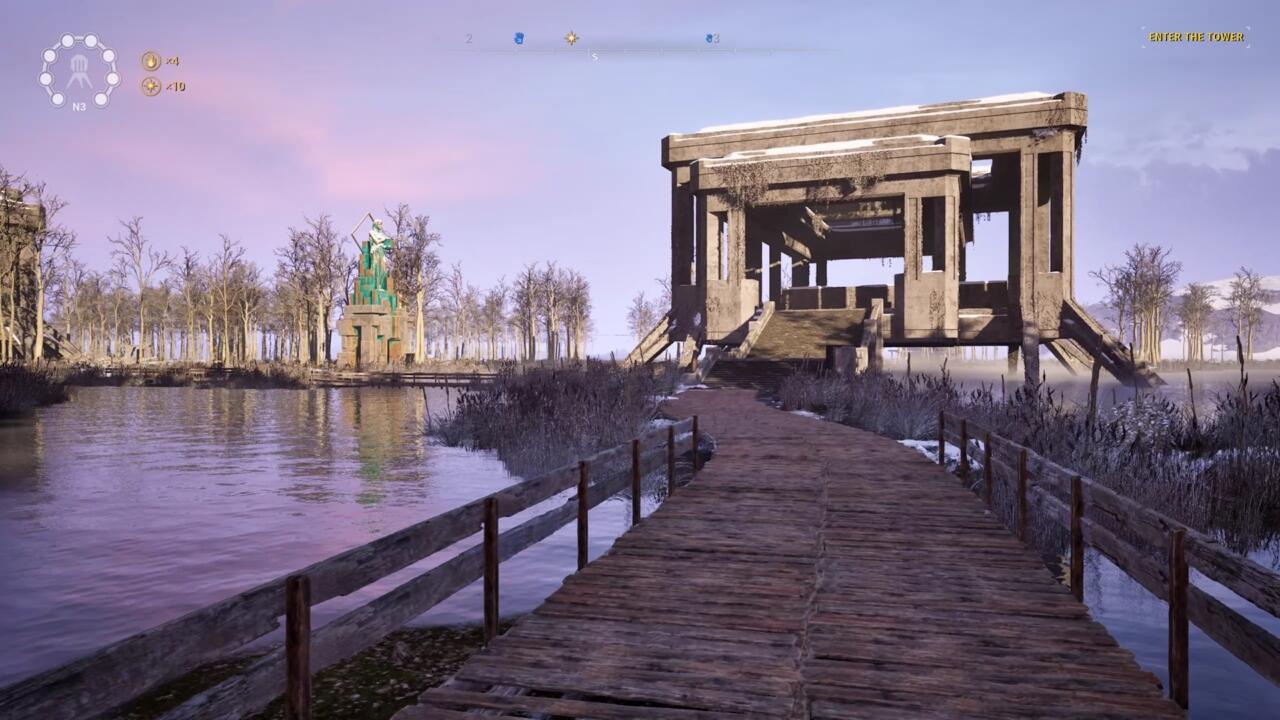
East 1
You’ll find the Pandora statue to the right of the bridge ring at the start of this area, near the No. 8 puzzle room. The Pandora statue has a green laser receiver on it, so you’ll need a green beam to activate it. The good news is that there’s one very close by.
Head to puzzle No. 8. It’s best to solve the puzzle room first, which will deactivate all the forcefields. You need the crystal tripod, the RGB Converter, and the hexahedron (the cube).
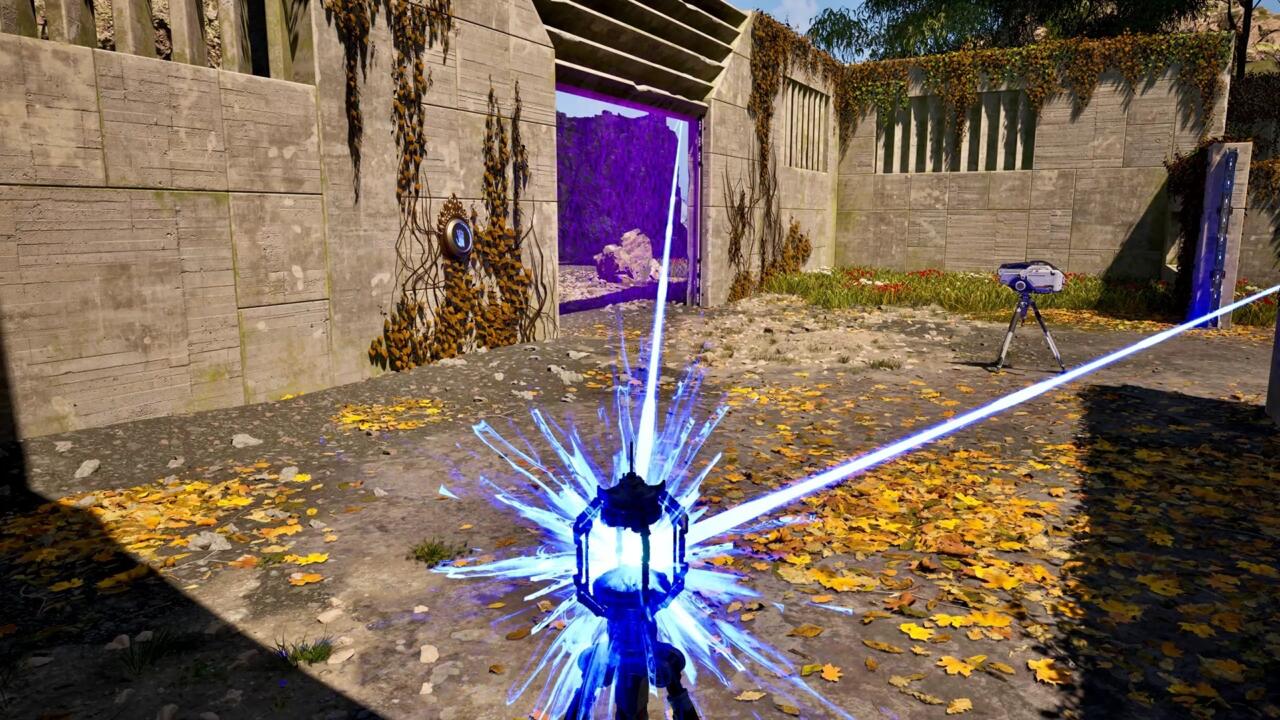
Connect the crystal to the red beam and set the crystal in the center of the area so you can send the red beam toward the fan at the far end of the puzzle area. Head over to the fan and flip the switch to deactivate it. Place the hexahedron on the deactivated fan, then grab the RGB Converter. Connect it to the blue beam and the red crystal to turn it green.

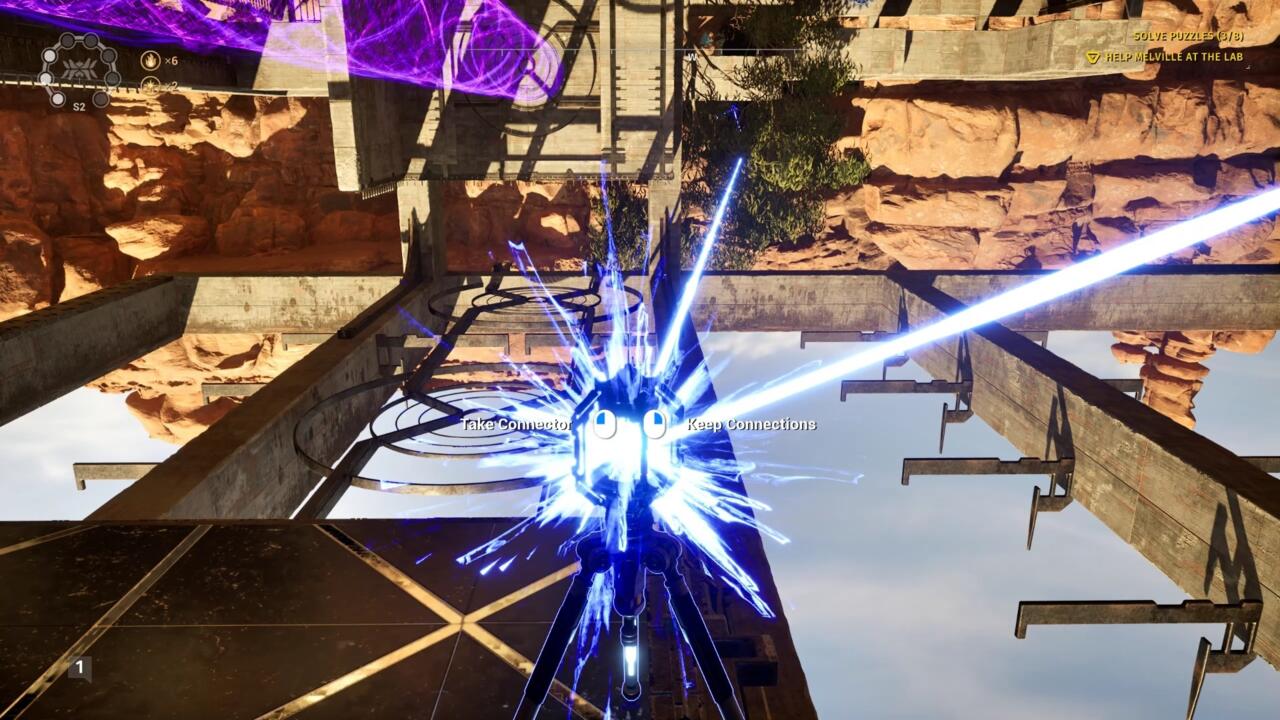
With the RGB Converter in hand, connect it first to the green receiver next to the fan. Now look over the exterior wall of the area. You should be able to spot Pandora from here. Connect the RGB Converter to the green receiver on Pandora’s box. Finally, place the RGB Converter on top of the cube.

Flip the switch on the fan and the RGB Converter should rise up into the air, completing the connections and solving the Pandora puzzle. Return to the statue to snag a Star.
East 2
The Pandora statue in this case is near the no. 7 puzzle, but you’ll start at puzzle no. 3. Use the RGB Converter here to create a green beam. You’ll need to use the Quantum Driller to get access to one of the colored lasers, and the two crystal Connectors to send over the other.
Once you have connections to the RGB Converter, look out the doorway you entered through and you should see another Connector sticking out of the triangular archway just beyond the entrance to the puzzle. Connect the RGB Converter to it to send a green laser bouncing across the whole area.

Follow the green laser all the way back toward Pandora and puzzle no. 8. When you get inside 8, you should be able to look over the side wall and see the green laser hitting the Connector stuck in a rock nearby.

Grab a Connector from inside the puzzle and use it to connect the green beam to the Pandora green receiver to finish the puzzle.
East 3
Pandora waits for you near the no. 6 and 7 puzzle rooms and requires a green laser. If you look up as you’re making your way through this area, you might see a dotted line crossing overhead, indicating a series of unpowered Connectors. Following the line will give you a clue where to start.
Head to puzzle no. 3, where you’ll find an Invertor and an RGB Converter. Use the Inverter on the red laser emitter to create a blue laser and connect it to the RGB Converter, then connect the RGB Converter to red emitter to create a green laser. Look over the wall near the right corner of the room and you should be able to spot the Connector at the end of the dotted line you followed to get here.

That should send a green laser all the way back across the island, just like in East 2. Follow the green line all the way back toward Pandora and head to puzzle no. 6.

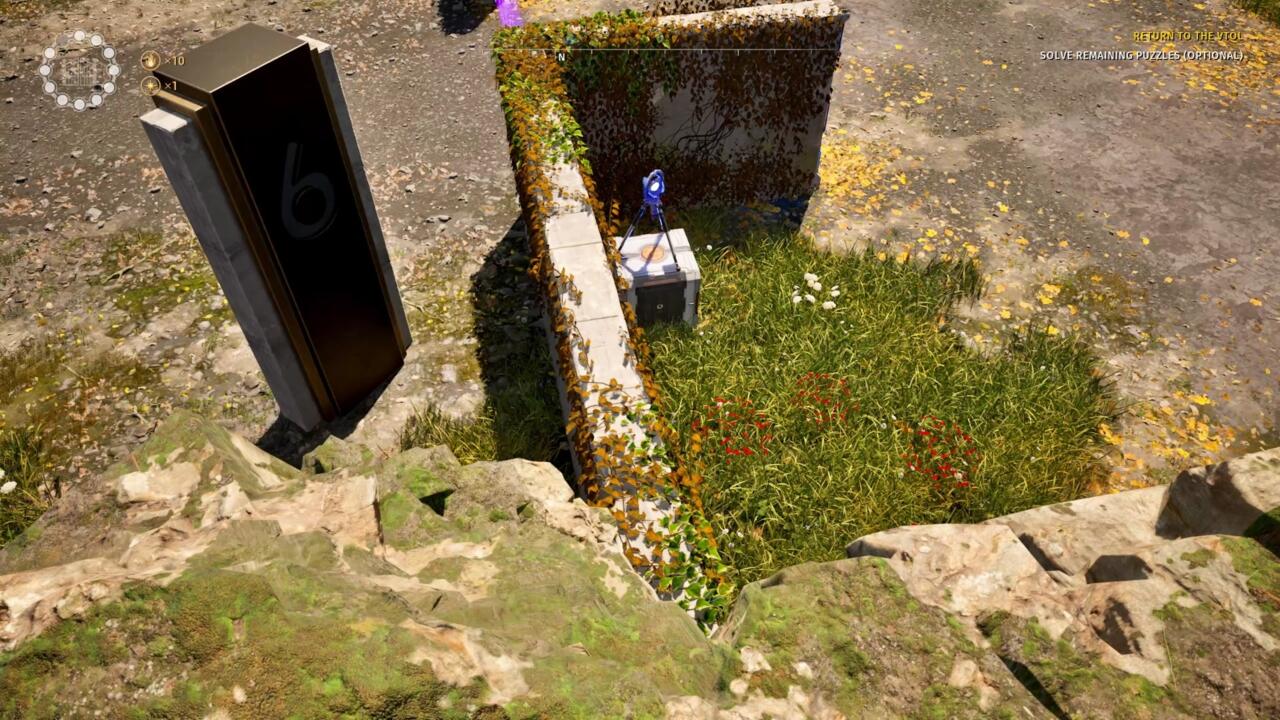
Inside, use a Connector to grab the green laser from the Connector at the end of the line, which stands on a tower, and bounce it to the Pandora statue.
North 3
You’ll find the Pandora statue next to the no. 3 puzzle room. Once again, you’re going to need to bounce beams from other locations to this point. The thing you’ll need to note here is the RGB Converter that’s on top of a tower to the left of the Pandora statue. You’ll need that to create the green beam needed to finish the puzzle.
First, head to puzzle no. 2, which is at the back of the Pandora statue. As usual, you’ll want to have solved this room already in order to have full access to the tools. Use the fan to grab the cube on the ledge above it, then swap it for the Accumulator. Ride the fan up to the ledge and connect the Accumulator to the blue beam, then drop it so it takes the charge. Pick it back up again and aim it at the RGB Converter on the tower beyond the right corner of the puzzle room. It can be tough to spot, but having the Accumulator in-hand should make finding the connection easier. Drop the Accumulator on the ledge with the beam connected.

For the red beam, you’ll need higher ground. Make your way to puzzle no. 5. Swap an item for the Accumulator and use it to capture the red beam. Find the RGB Connector on the tower over the wall next to the red beam emitter and make the connection.
Now return to puzzle no. 3. You need to connect the green beam created by the RGB Converter to the Pandora statue. Find the Connector that’s bouncing a red beam around the puzzle room. You won’t be able to hit your targets from this side, however. Head back toward the entrance of the room and grab the cube, then swap it for the Quantum Drill. Aim the Drill at the wall and pass the Connector through the hole. Run around to the other side and grab the Connector.

From here, you can target both the Pandora statue and the RGB Converter to finish the puzzle.
South 1
Leaving the transit hub, you can spot this Pandora statue right beside the starting area as you come down the winding path near the tetromino bridge ring. You should also notice right away that it has a dotted line connected to it, indicating that you’ll be able to send a green beam through some nearby Connectors.
Start at puzzle no. 2. When you’ve completed it, look off the side of this raised area to the north, to the right of the wooden bridge you used to enter the puzzle. You should see a wall below you, across the water, where a Quantum Drill can make a hole. Zap a hole in it to reveal a green laser emitter hidden behind it. Grab a Connector from this same puzzle and connect with the green emitter, then look up for a rock spire above the emitter. At the top, you should see another Connector. Bounce the green laser up to that Connector.

Next, you’ll need to go to puzzle no. 4, which is near no. 2 and slightly below it. Inside, grab a Connector and look up toward no. 2 to spot the green Connector sticking out of the rock tower. Connect to it and turn toward the transit station. Underneath the flat platform, just to the left of the big statue hand that’s holding it up, is a Connector, sticking out and pointing downward.

Bounce the green laser to that Connector and it’ll continue to the Pandora statue to complete the puzzle.
South 2
Look for the Pandora statue in an alcove to the west of where you first start in this area, near one of the bonus puzzle rooms. This one takes some work to get done, since the green receiver on Pandora is facing away from basically everything in the area.
Start in puzzle room no. 2. If you walk around the puzzle room’s exterior to the opposite side from the entrance, you should find a cave cut through the rock that creates a path to the other side of the area. Look up through this path and you’ll see a series of Connectors linked together. You’ll need to bounce a laser to this group. Back in the no. 2 room, look for the anti-gravity panels on the ceiling that create an L-shape. Grab the Gravshifter and aim it at the vertical anti-gravity panel, so that if you were standing on it you’d be sideways, parallel to the ground. When you place the Gravshifter, make sure it’s on the button that activates the fan and that its anti-gravity column travels over the fan.
Grab a Connector and use the fan to send yourself to the anti-gravity panel. Jump up to the top panel so that you’re upside-down and use the Connector on the blue laser emitter and the Connector hanging from the ceiling of the cave pathway. You’ll probably have a tough time spotting it because of trees in the way, but the distant Connector will be highlighted if your aim passes over it.
Leave no. 2 and return to the bonus puzzle room near the Pandora statue. You can find it by following the blue laser. In the cliff wall beside the bonus room, you should see the purple particle wall that prevents you from taking objects through it, indicating you can reach an alcove there. To the left of the particle field is an anti-gravity panel high on the rock walls. Inside the bonus puzzle room, find the Gravshifter and aim it out of the puzzle room at the anti-gravity panel. Use the anti-gravity column to reach a pathway there and head through the purple field to find an Inverter. Connect the Inverter to the Connector that’s receiving the blue beam on top of the bonus puzzle room. You can just drop it here with that one connection, but put it close to the edge so that it’s visible from the ground.

Now drop down and go north, past the bonus puzzle room, along the rock wall where you found the Inverter. Here you’ll find a canyon that cuts through the rocks. If you look up, you should spot a couple of fans. You’ll need to do some climbing to get to them, and you can find the start of that path in the corner of the rock wall to your left. Hop up on the rocks and make your way upward to the fans, then use them to fling yourself across the canyon. After the second fan, you’ll find an RGB Converter. Grab it and carry it back toward the Pandora statue.

Finally, carry the RGB Converter back to the space in front of the bonus puzzle room near the Pandora statue. Connect the RGB Converter to the Inverter you left above and to the blue beam coming from the Connector on top of the bonus puzzle room.

That should give you a green beam that you can connect to the statue.
South 3
This one’s tough, and it can be difficult to spot the Connectors necessary to make it work. Find the Pandora statue way out in the eastern stretch of sand where there doesn’t seem to be anything around. There are no hidden connections being made here, and seemingly, nothing with a line of sight that can be connected to the red laser receiver on the Pandora statue.
To solve this one, you have to activate a special switch. First, make your way to the no. 2 puzzle room. Turn around and look back through the entrance, and then up at the tower high above. You should see a big blue laser receiver on the side of the tower through the holes in the ceiling. This is the key to solving the puzzle, and your first step.
Grab a Connector and connect the nearby blue laser to the receiver on the tower. Watch for a moment–you should see a Connector rod rise out of the tower to the right of the receiver. You’ll need to bounce a red laser to that Connector.
To get that red laser, leave puzzle no. 2 and go around behind it. Head south into the desert to the bonus puzzle room nestled among the dunes. Inside, you’ll find a red laser emitter. Use a Connector to send it up to the Connector that appeared on the tower near the blue receiver.

The final step is the most confusing. Go all the way out toward the Pandora statue and the no. 3 puzzle room nearby. As you enter, turn left and look to the corner of the room, along the wall with the entryway in it, where you should find a hidden compartment that was opened when you activated the tower’s blue laser receiver. Inside is the final Connector you need.

Grab it and place it on the elevator platform next to the pressure plate. While standing on that platform, place the cube on the pressure plate to raise the elevator.

From here, you’ll be able to connect the red laser from the tower to the Pandora statue.
West 2
Full disclosure: We couldn’t figure out how to solve this one “correctly,” or at least, it seems that way. We’ll update this solution if we figure out how to do it as the developers intended, if they did, in fact, mean for you to do it a different way. Until then, here’s how we solved the final Pandora statue.
First, track down the statue on the lower area of the mountain region, down the stairs from the no. 4 puzzle room. If you look above you as you walk this path, you’ll see the dotted lines denoting active Connectors in the area.
Start by heading into the no. 4 room and grabbing a Connector. Standing near the entranceway, connect the blue laser emitter to the Connector sticking out of the rock just outside the room to your right when facing the entrance. You can make the connection through the purple entrance field pretty easily.
This is where things get tricky. If you head to puzzle room no. 6 up the mountain some and walk around its outer walls to the right, you’ll see a wall that you could make a hole in using a Quantum Driller. You can also see a transparent bubble emanating from behind the wall, indicating that there’s a Universal Activator behind it. That tells you what you’ll need.

We never did find the necessary Quantum Driller. However, you can get a blue Activator out of puzzle room no. 6. First, go into the puzzle room and grab a cube. Carry it over to the wall near the left side of the entrance, where there’s a corner, next to the no. 6 sign on the other side. Park the cube next to the wall and then place a blue Activator on top. Leave the room and go around to the left, past the no. 6 sign to where there’s a pile of fairly low rocks. Jump on and you can climb them to the top of this heap, which allows you to drop down on the wall of the puzzle room. From there, you can grab the Activator from on top of the cube and remove it from the room.
Now head back to the Pandora statue. There’s no receiver for a laser beam on this one. Instead, you need to use the Activator to snag the blue beam from the nearby Connector and drop it underneath the statue to activate it and get your star.
With that, you’re done completing Pandora puzzles in The Talos Principle 2. Want more from the mind-bending puzzle game? Read our The Talos Principle 2 review, as well.
The products discussed here were independently chosen by our editors.
GameSpot may get a share of the revenue if you buy anything featured on our site.
Source link